Procedures

Abdominal Aortic Aneurysm (AAA): Tube Graft Interposition

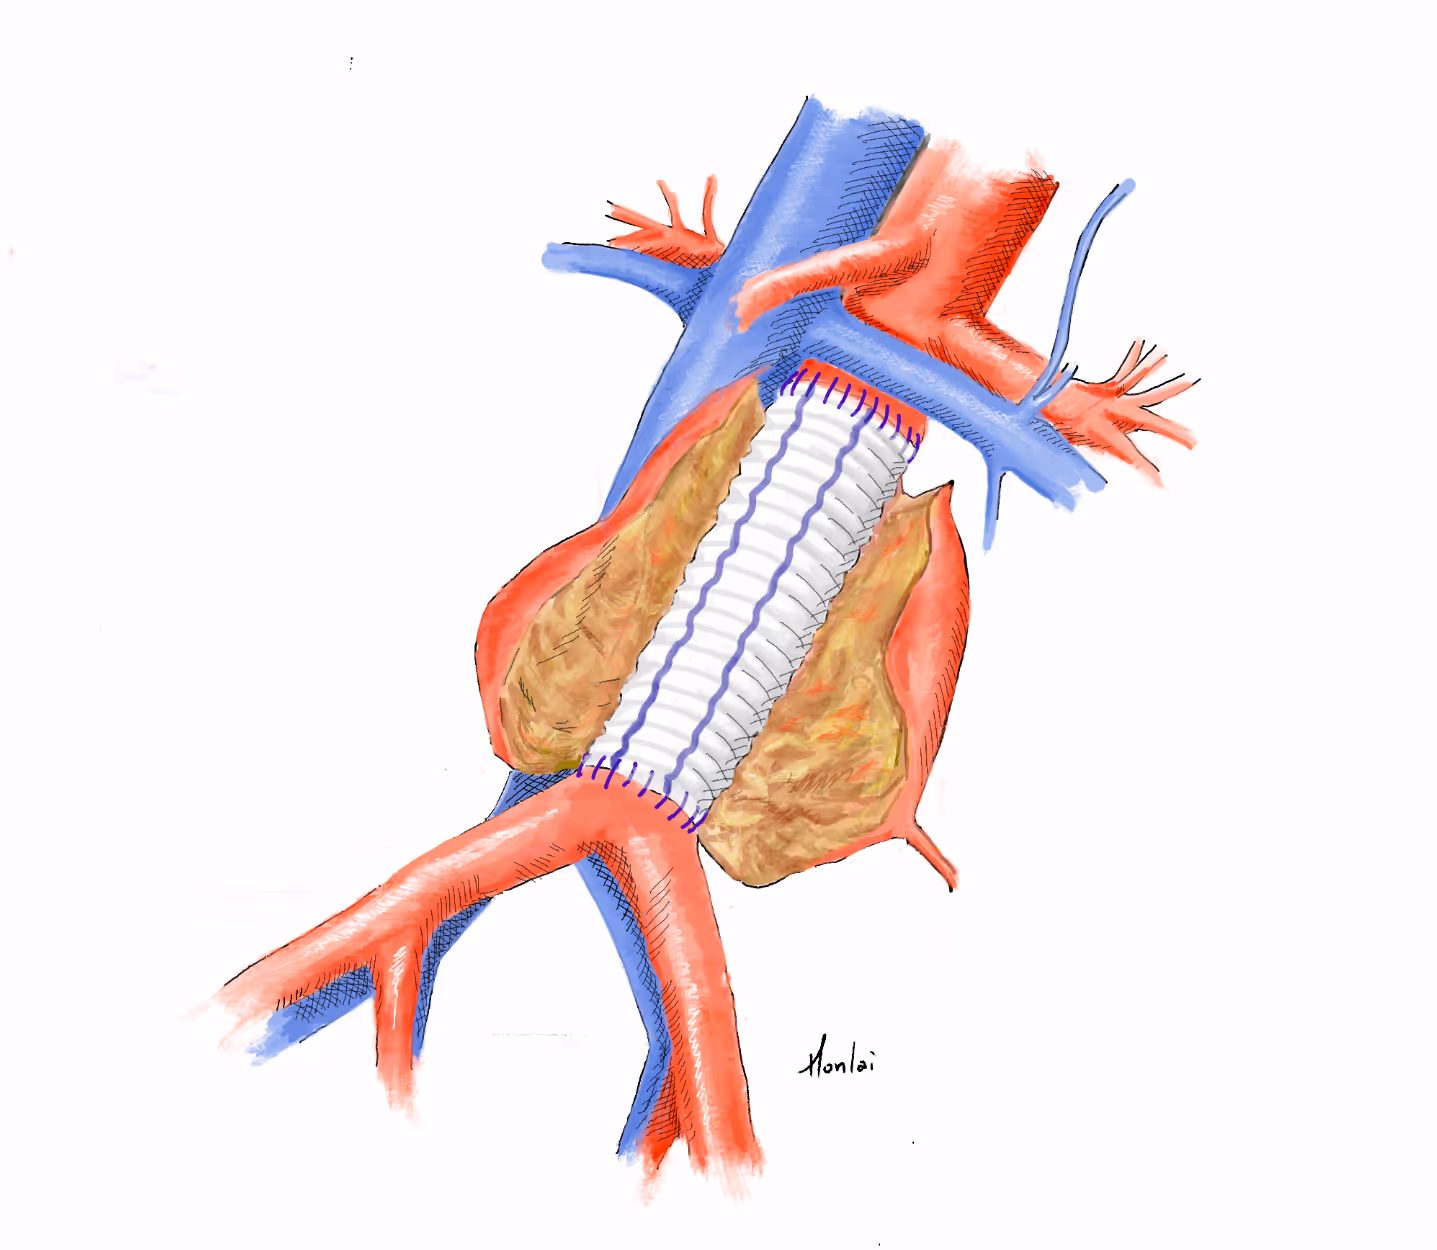
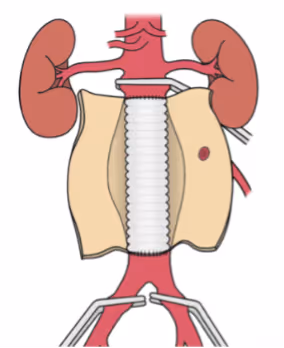
Abdominal aortic aneurysm (AAA) repair with tube graft interposition is a surgical procedure to replace a weakened aortic segment with a synthetic graft. The aneurysm is exposed, clamped, and incised, followed by precise suturing of the graft to the aorta to restore normal blood flow. The procedure ensures durability and prevents rupture, with final checks for hemostasis and graft integration.

All Steps in Detail

Step 1: Exposition of the aneurysm

  1. Abdominal wall retractor and transperitoneal exposition of the AAA, including definition of anatomical landmarks
  2. Placement of silicone tube around the proximal neck
  3. Infrarenal crossclamping using Glover clamp (rear branch of the clamp is conducted behind the aortic wall by means of a rubber tube)
  4. Iliac straight clamps (simple sagital crossclamping usually without dissecting the artery)
  5. Anterolateral longitudinal incision of the aneurysm wall for 2 cm on the right side of the inferior mesenteric artery and perforation of the thrombus with the suction device
  6. Extend the incision towards the proximal neck and distally to the aortic bifurcation. The proximal incision stops 1 cm distally to the proximal clamp. Proximally and distally the incision is extended horizontally until 3 o’clock and 9 o’clock, respectively, like wings of a double door
  7. Suture ligation of lumbar arteries
  8. Control of inferior mesenteric artery back bleeding
  9. A Dacron tube graft is held by a long aortic clamp 3 cm from the proximal end

Step 2: Proximal Anastomosis

  1. Standing on the right side of the patient’s body the suture starts at 3 o‘clock on the contralateral side (suture material: 3-0 double needle polypropylene suture)
  2. First stitch intside-out aorta, put a braided suture clamp (with rubber boots) on the needle
  3. Second stitch with the second needle inside-out on the graft and outside-in on the aorta,  clockwise from first stitch (Distance 3mm)
  4. Continue with a running suture in parachute technique. The first 3 stitches are usually better placed in a backhand technique. After the first 5 stitches moisturize the silicon inlay and the filament sutures. Approximate the graft and the aorta by moving the graft down and pulling on both suture filaments. Continue completing the rear wall on a virtual horizontal line with the running suture clockwise until 9 o‘clock. Put a suture clamp on that needle when needle is outside the graft and pull on both suture filaments, approximating graft and aorta. Search for lose suture loops on the rear anastomotic site after lifting the graft.
  5. Start suturing with the other needle anti-clockwise in forehand technique, completing  the ventral wall suture
  6. Flush and control of the proximal anastomosis under pulsatile pressure. Place additional stitches if necessary (U-stitch, Borst stitch, Allenberg stitch, suture reinforcement with graft or bovine pericardial pledgets)

Step 3: Distal Anastomosis

  1. The distal anastomosis is created in a similar way with 3-0 double needle polypropylene suture, first stitch outside-in on the graft at 3 o‘clock to inside-out on the aorta
  2. Continue suturing the rear wall with the same needle, pull the suture tight and finish the suture at about 3 o‘clock. Then perform the front wall anastomosis with the second needle. Search for loose suture loops. Make the knot after flushing. Add additional extra stitches if needed.
  3. Before you remove the crossclamp put a straight clamp on the graft creating a 90% stenosis to avoid a significant pressure drop during removal of the aortic clamps

Step 4: Graft inclusion

  1. Use absorbable or non-absorbable suture material to close the original aortic wall in order to create a border layer between prosthetic graft and small bowel
  2. Avoid long stiff knots looking upwards and irritating the small bowel (prevention of later aorto-enteric fistula)

Control of educational objectives (tutor and trainee)

Pictures and Drawings

No items found.

Courses Teaching this Procedure

European Vascular Master Class 2026

Jan 21, 2026
 - 
Jan 23, 2026
More Information

Simulators Used for this Procedure

Abdominal Aorta Simulator

More Information

About Vascular International

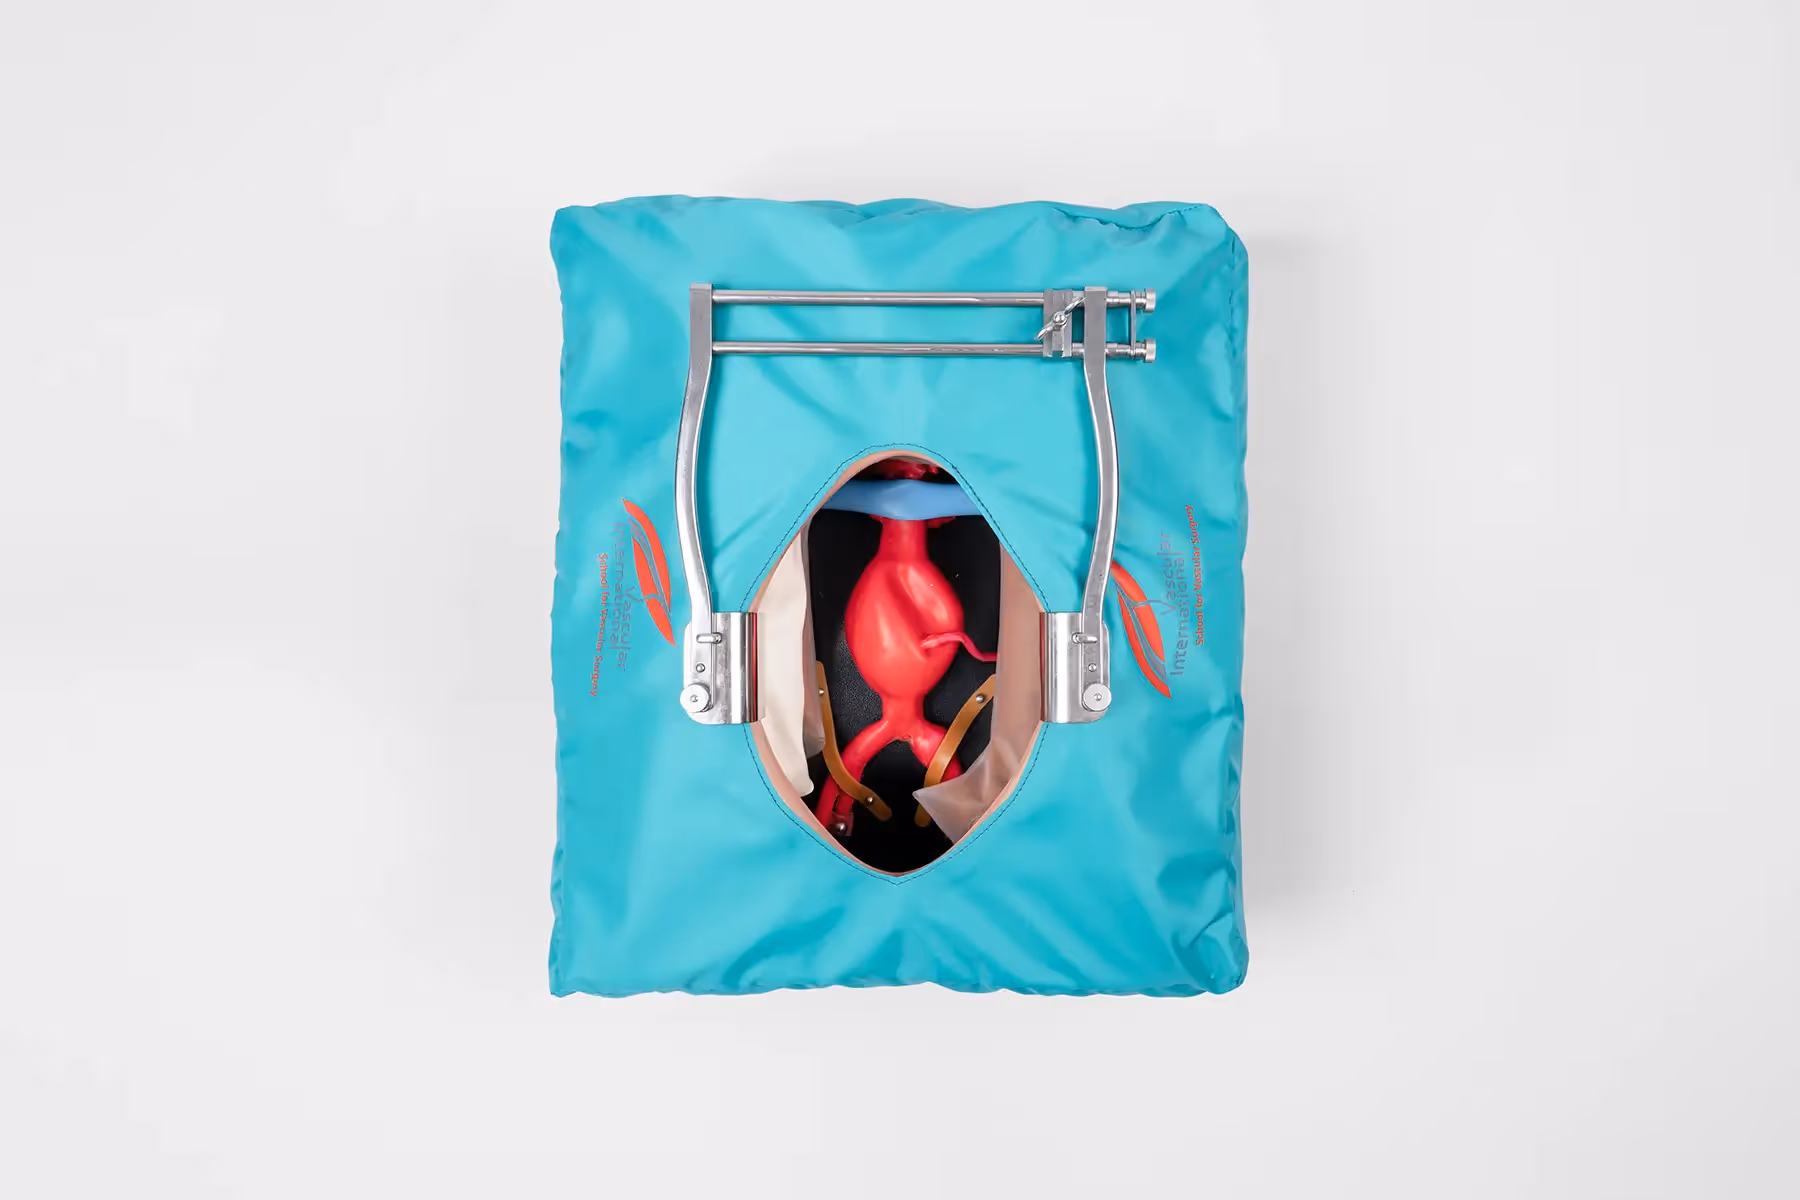
The Vascular International (VI) School for Vascular Surgery is dedicated to advancing the training and education of vascular surgical techniques through the use of lifelike models. With patient safety as the top priority, VI continuously strives to enhance vascular surgery training, ensuring the highest standards of safe and effective open and endovascular patient care.

About Us